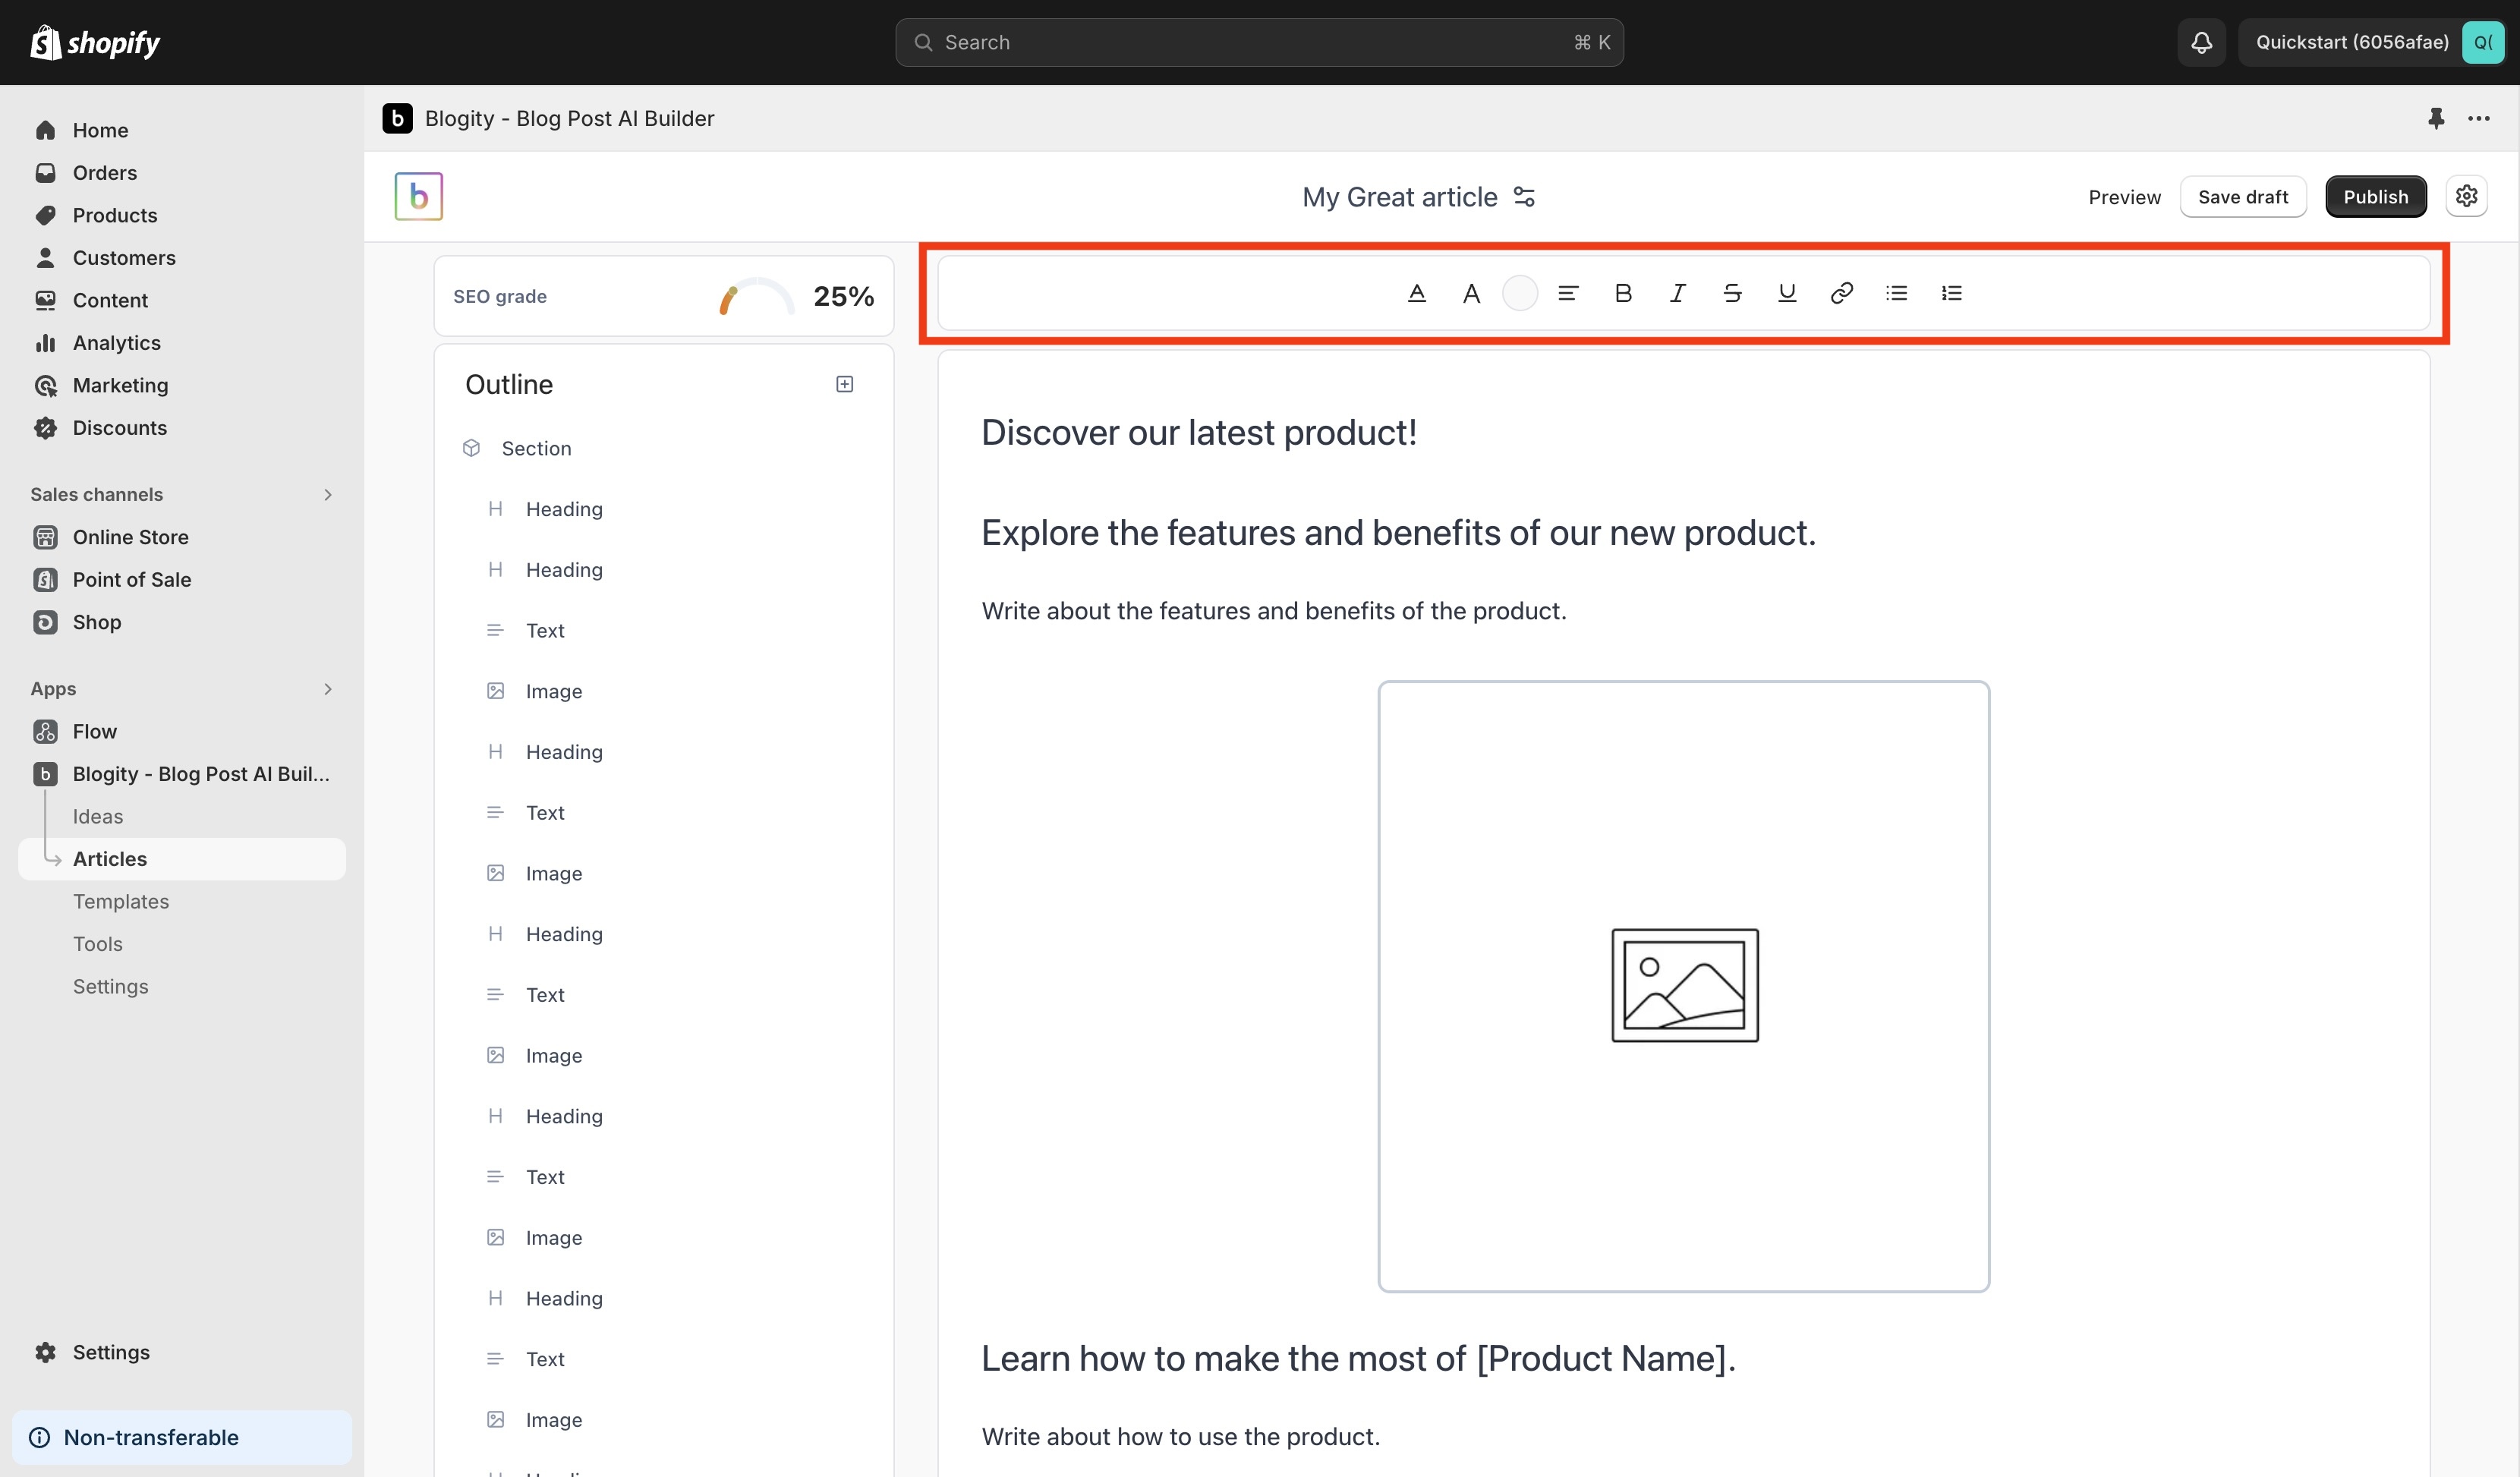
The article editor is the main place where you will write and curate your articles.
In this article we will cover a brief overview of the editor along with an introduction on how you can get started.
Lets get started.
The editor
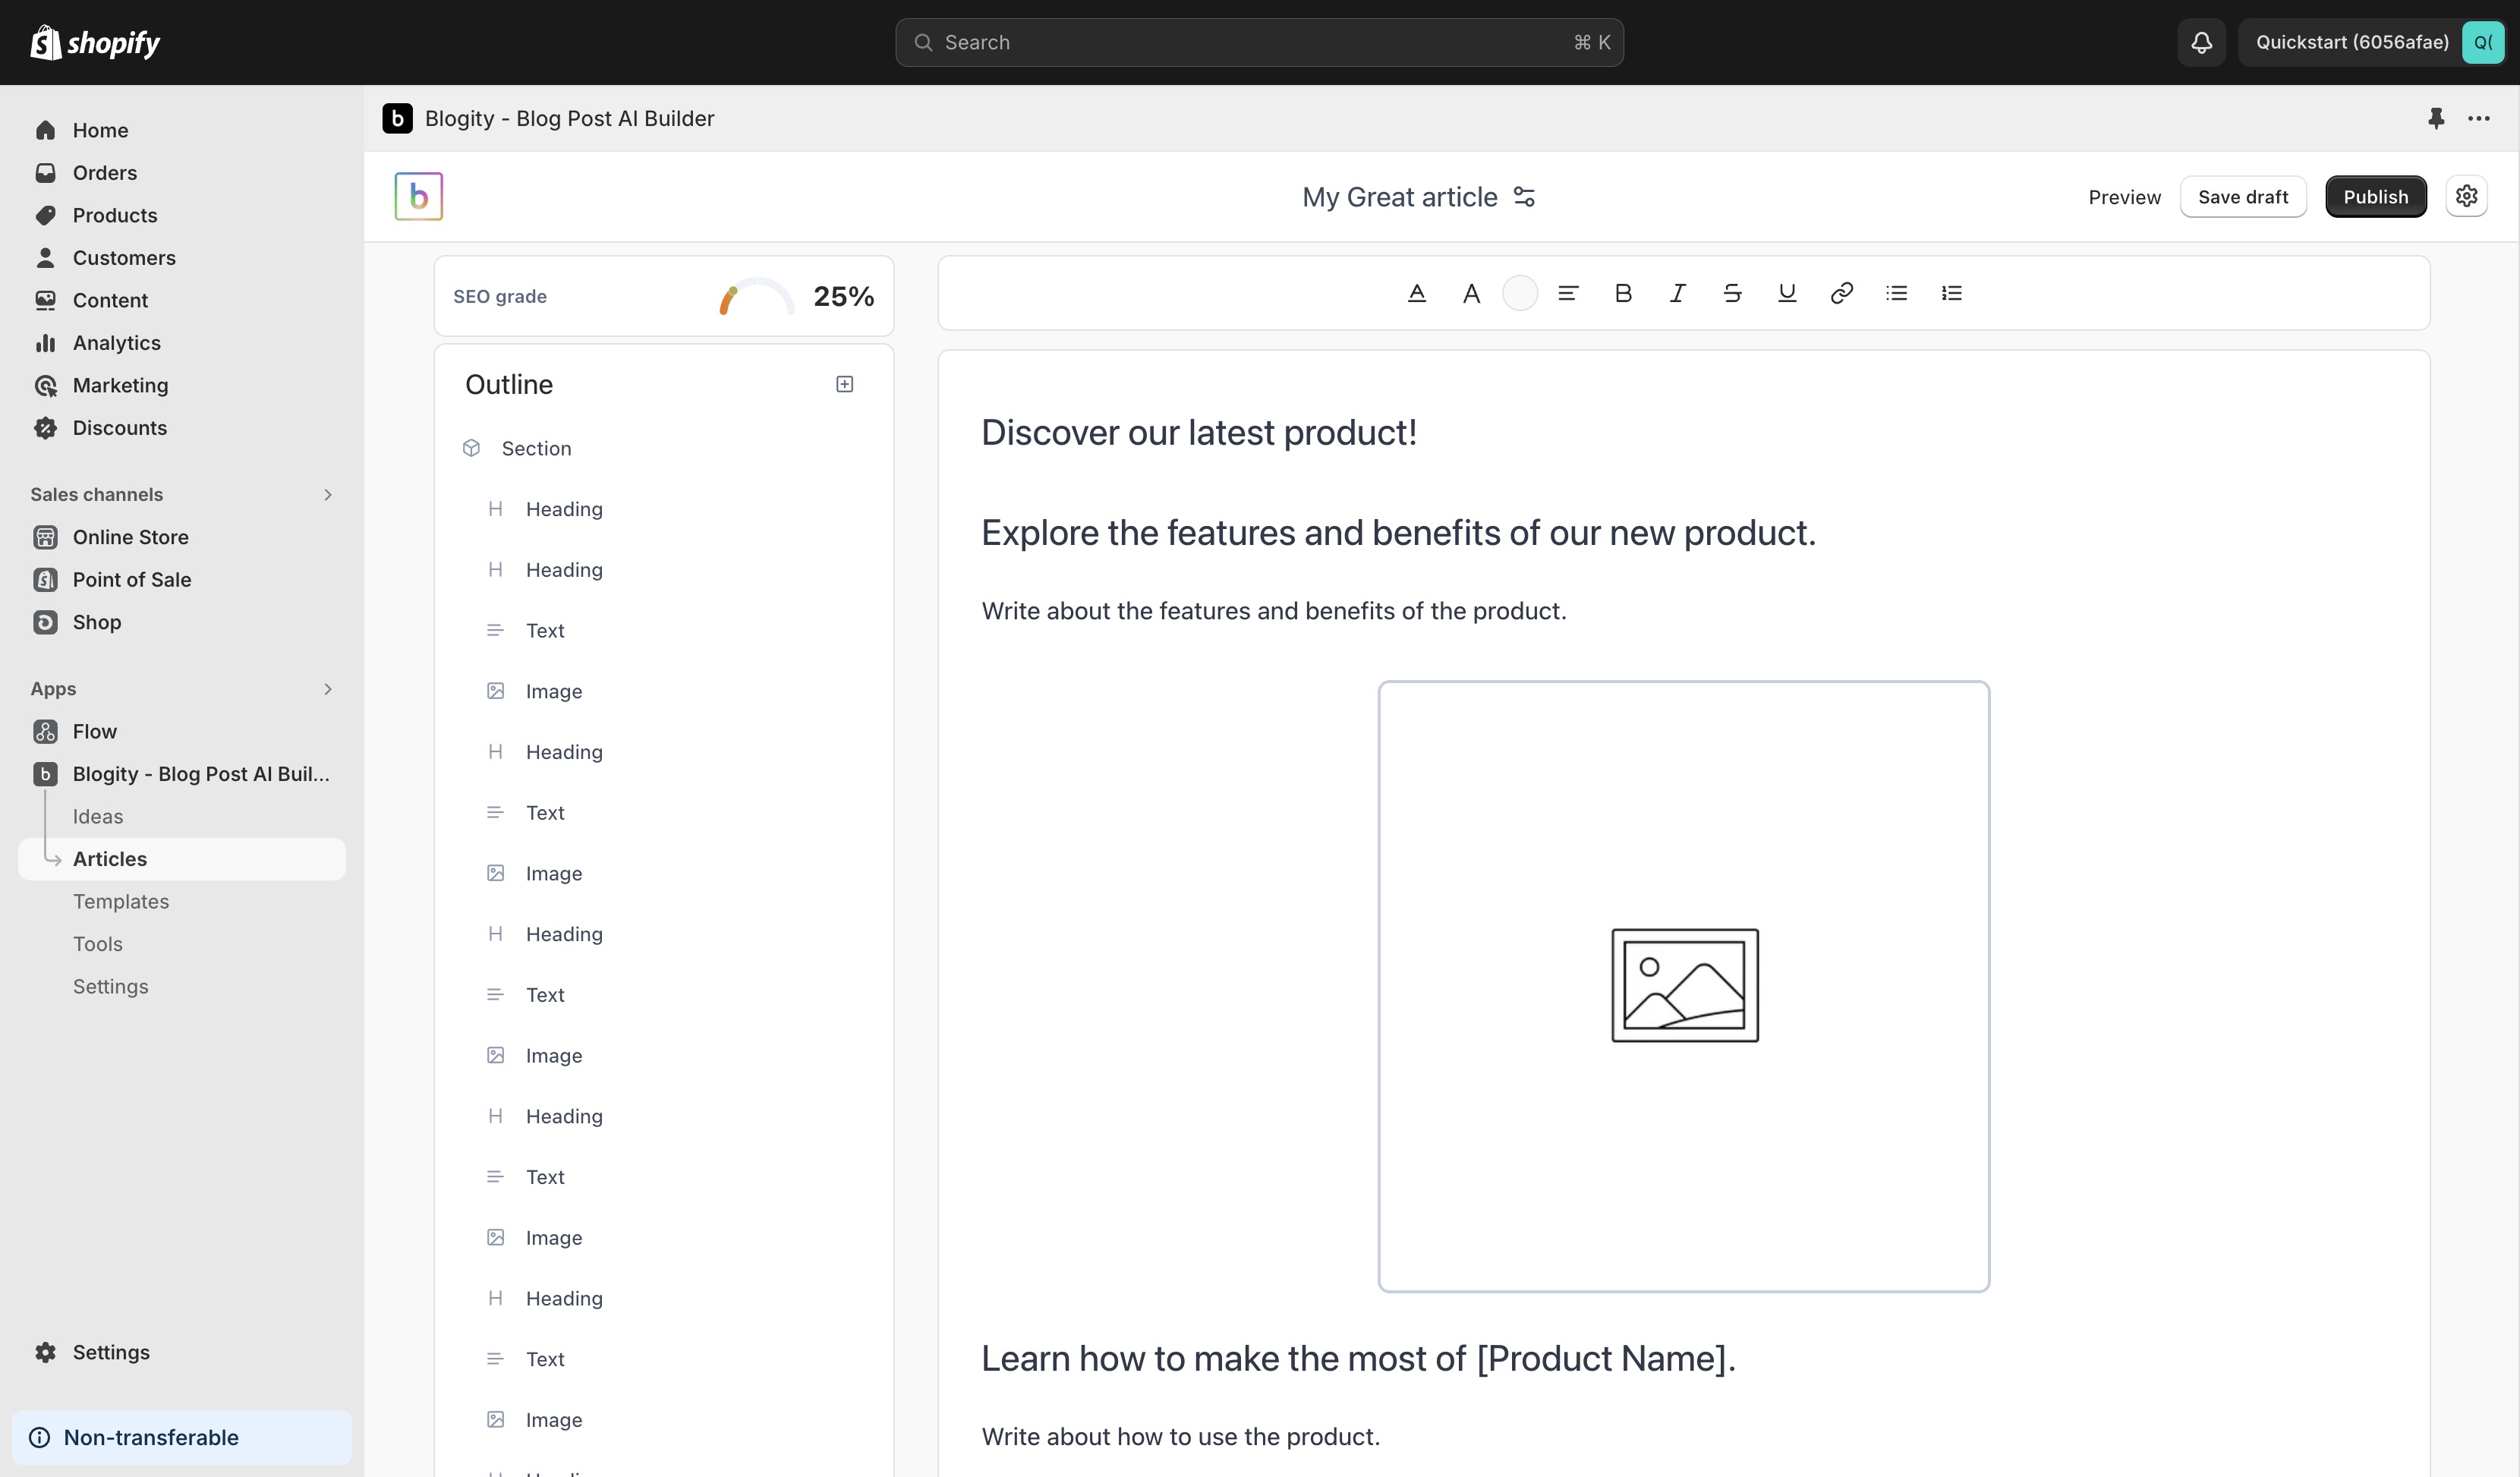
The Shopify Blogity app is embedded within the Shopify admin.
We took this decision since we felt it would better couple your content with your store. With this decision there are of course some limitations around the space we have to work with. So we unified all the interactive aspects of the editor into one sidebar and one primary content body as shown above.
When you interact with the blocks in the primary content body, the left sidebar will update to provide options to allow you to customize the appearance and behaviour of the block.
What are blocks?
Blocks are how we construct the body of the article. A block is a rich piece of content that represents information in some way.
In the Blogity editor a block can be any of the following:
- A text block
- An image
- An image with a text block
- A video
- An embedded poll
- An embedded product
- etc
It allows you to have stronger control over your content while helping to quickly create great content.
With blocks you can rearrange them using the left sidebar, when hovering you should see a handle, this handle can be held with your mouse and moved into another position.
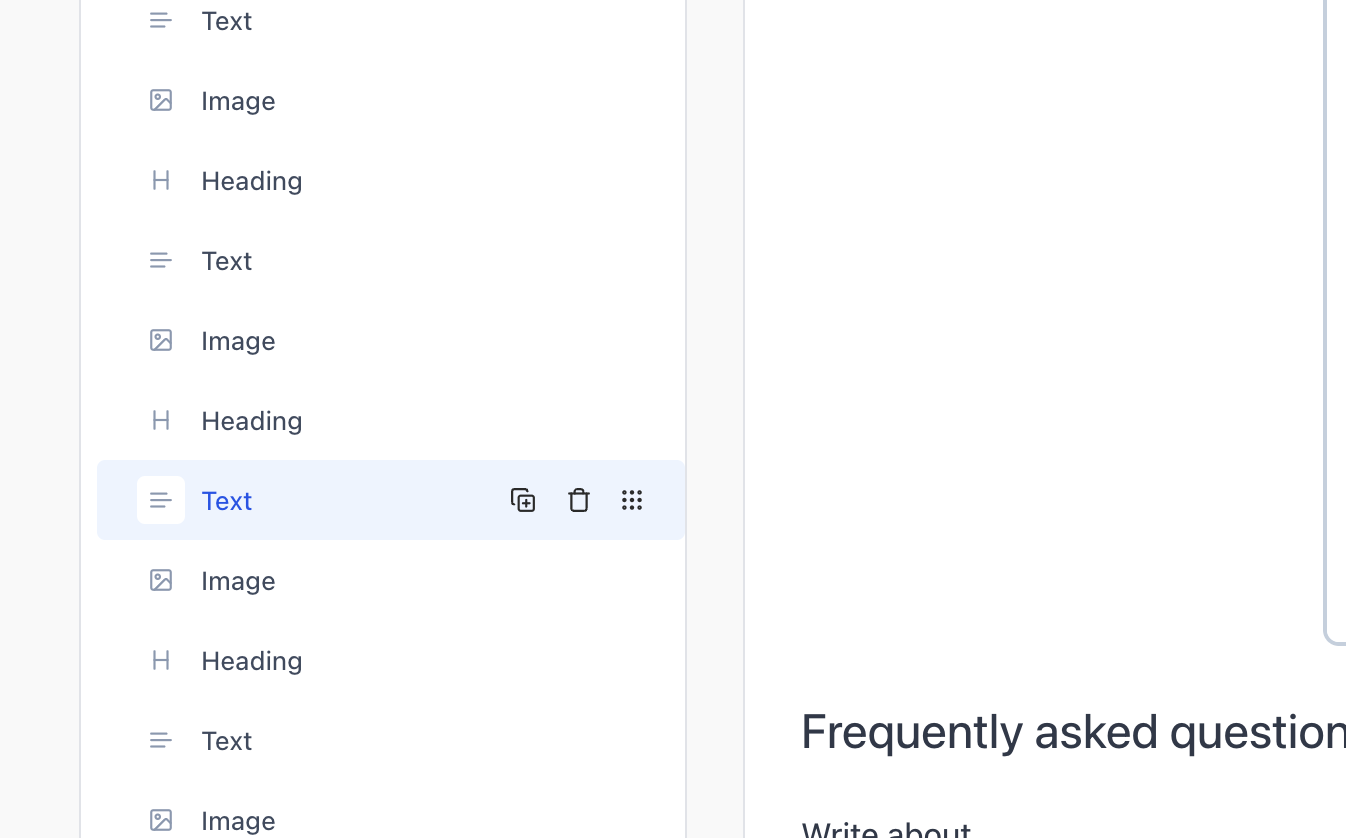
Other than the rearrange icon, we also have the duplicate action and the delete action, as represented by the icons.
What are outline sections?
In the sidebar we also have sections, a section is a group of blocks. We added sections to help with organising listicle type articles. So if you have a "top 10 best...", you can easily group multiple blocks together to represent one item, and easily duplicate or rearrange them based on your needs.
Let us know what you think of them, we are always thinking about ways to improve the experience to help you create great content.
The main sections of the editor
The top bar
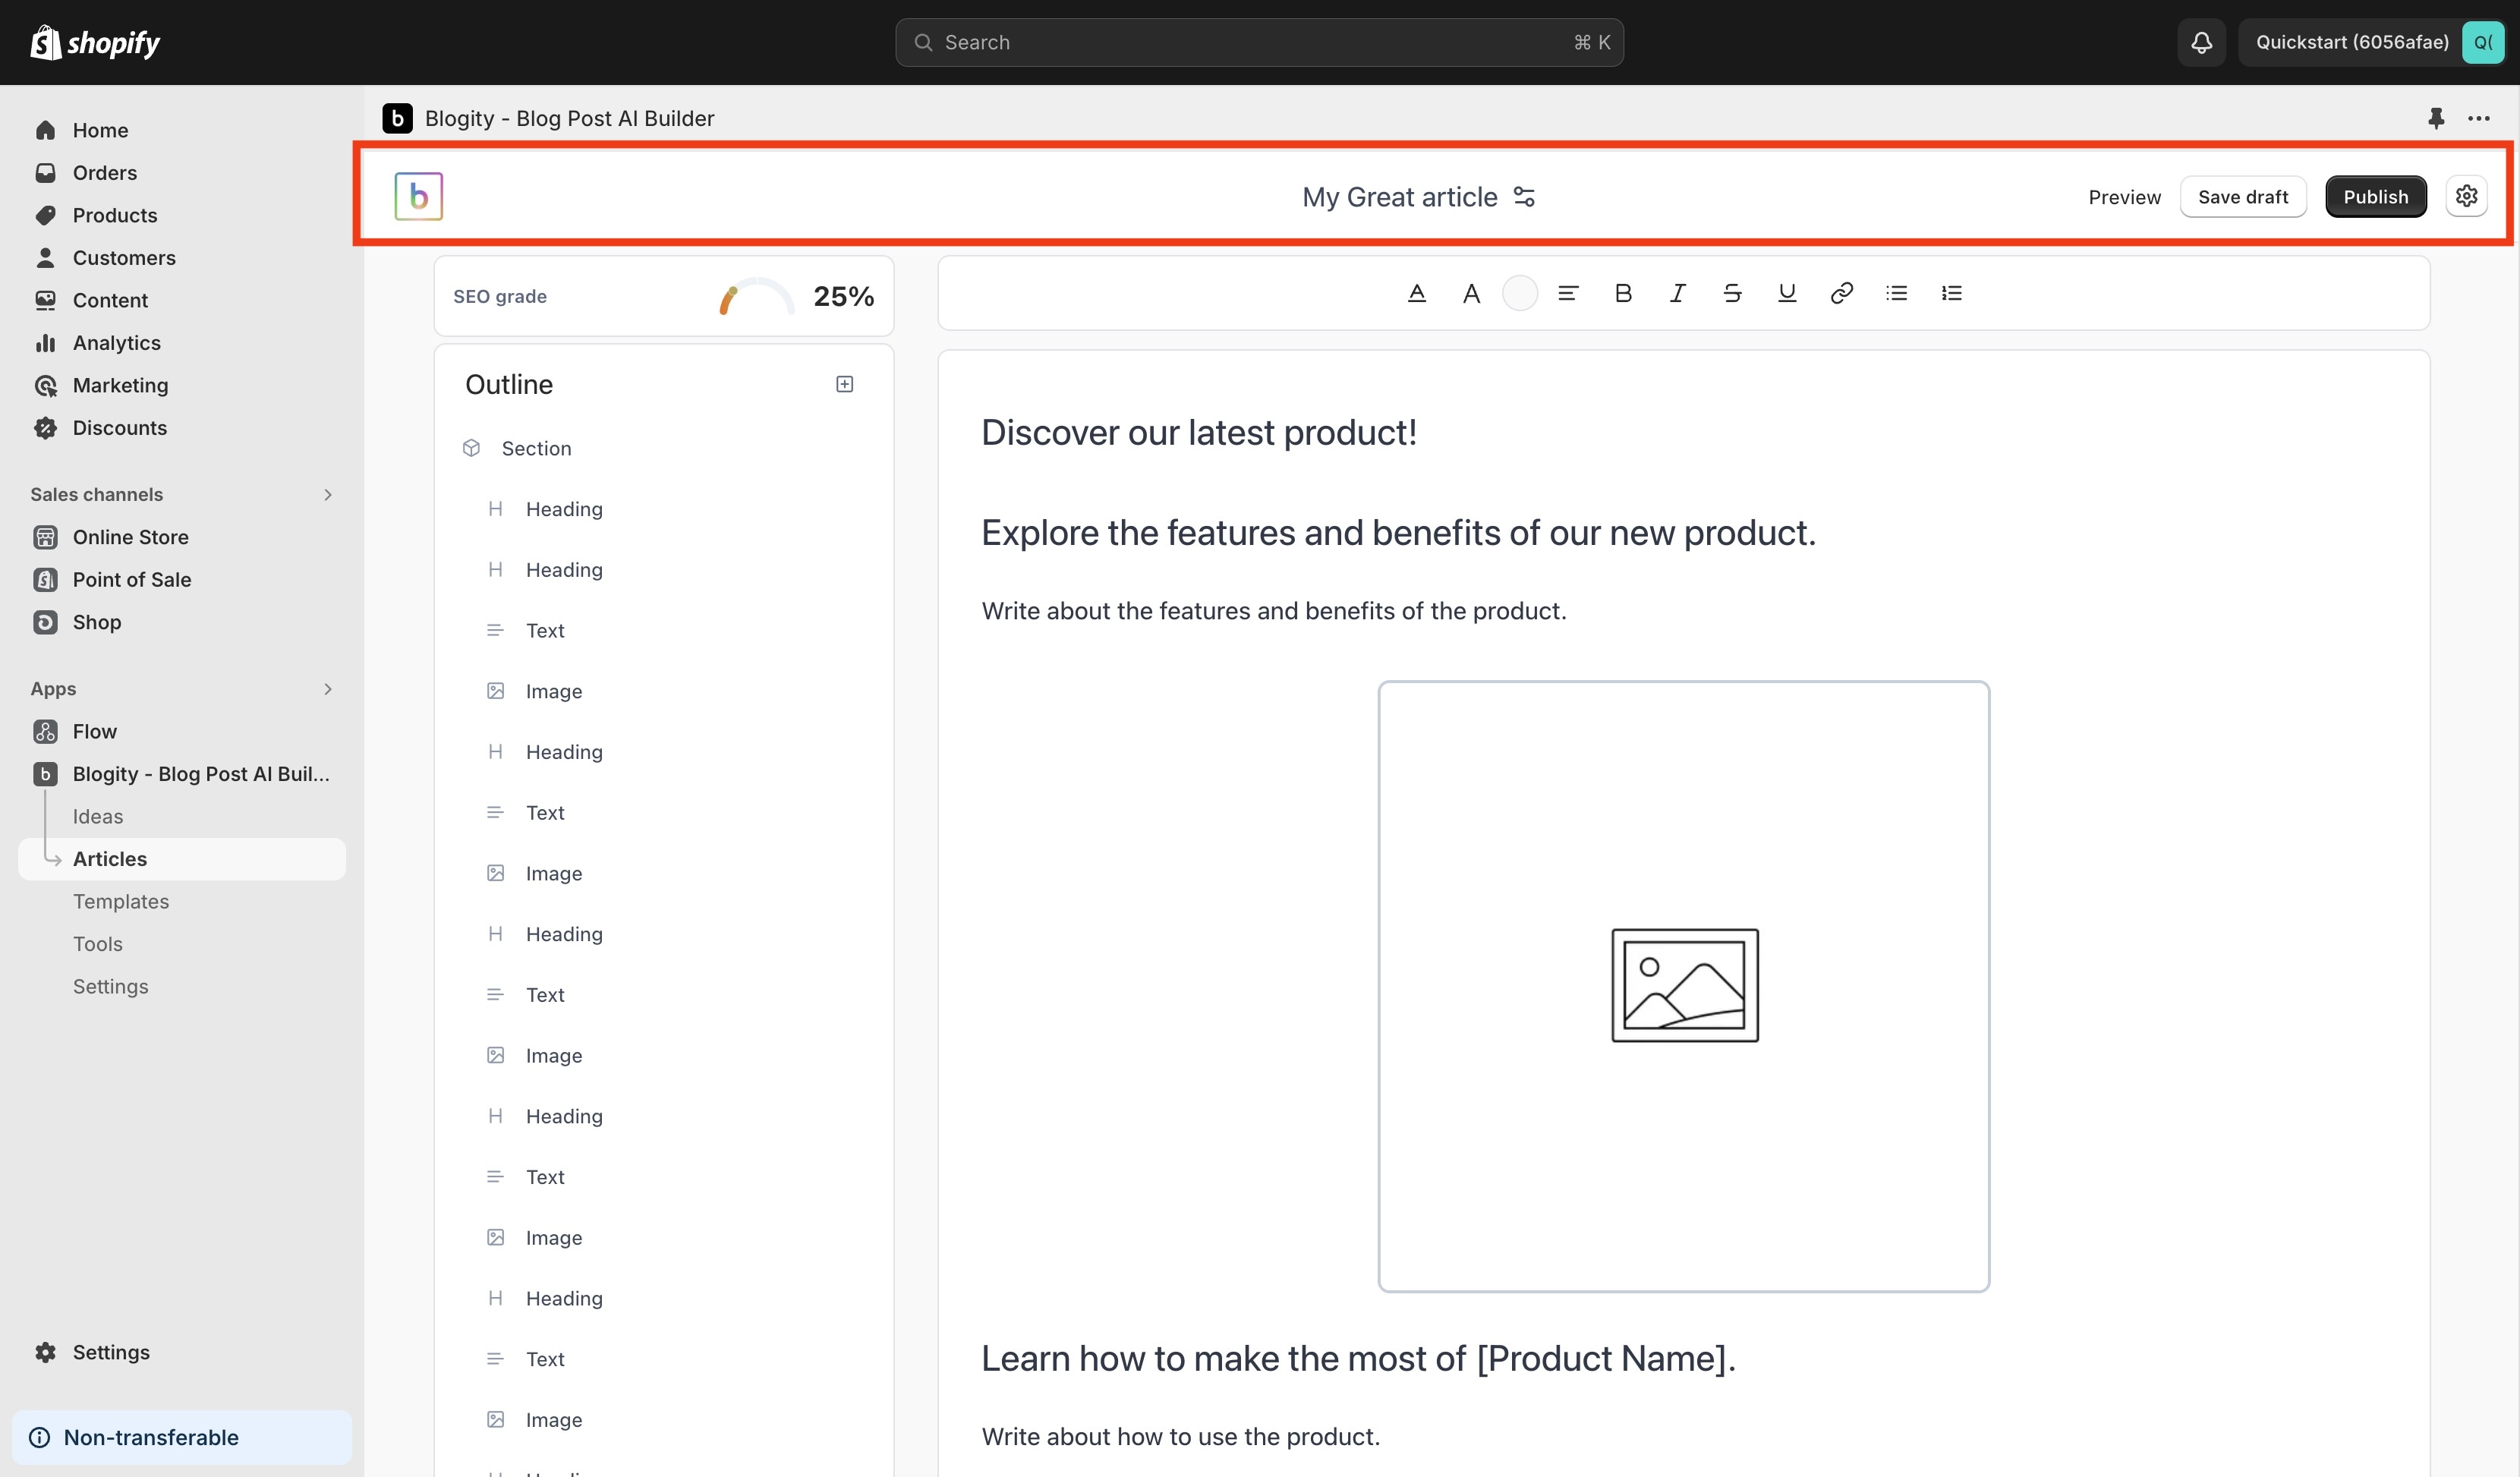
The topbar is where you control the high level information and status of your article. Here you can see the title and primary actions.
If you click on the article title, it will open the article settings dialog, here you will be able to:
- Rename the article
- Change the article slug
- Set a description for your article
- Set a feature image
- Set an author
- Set tags for the article.
On the right side we have the primary buttons for the article, these buttons allow you to:
- Save your article
- Preview your article before being published
- Publish your article
- Access more article settings.
- Another option to open the article settings dialog
The outline sidebar
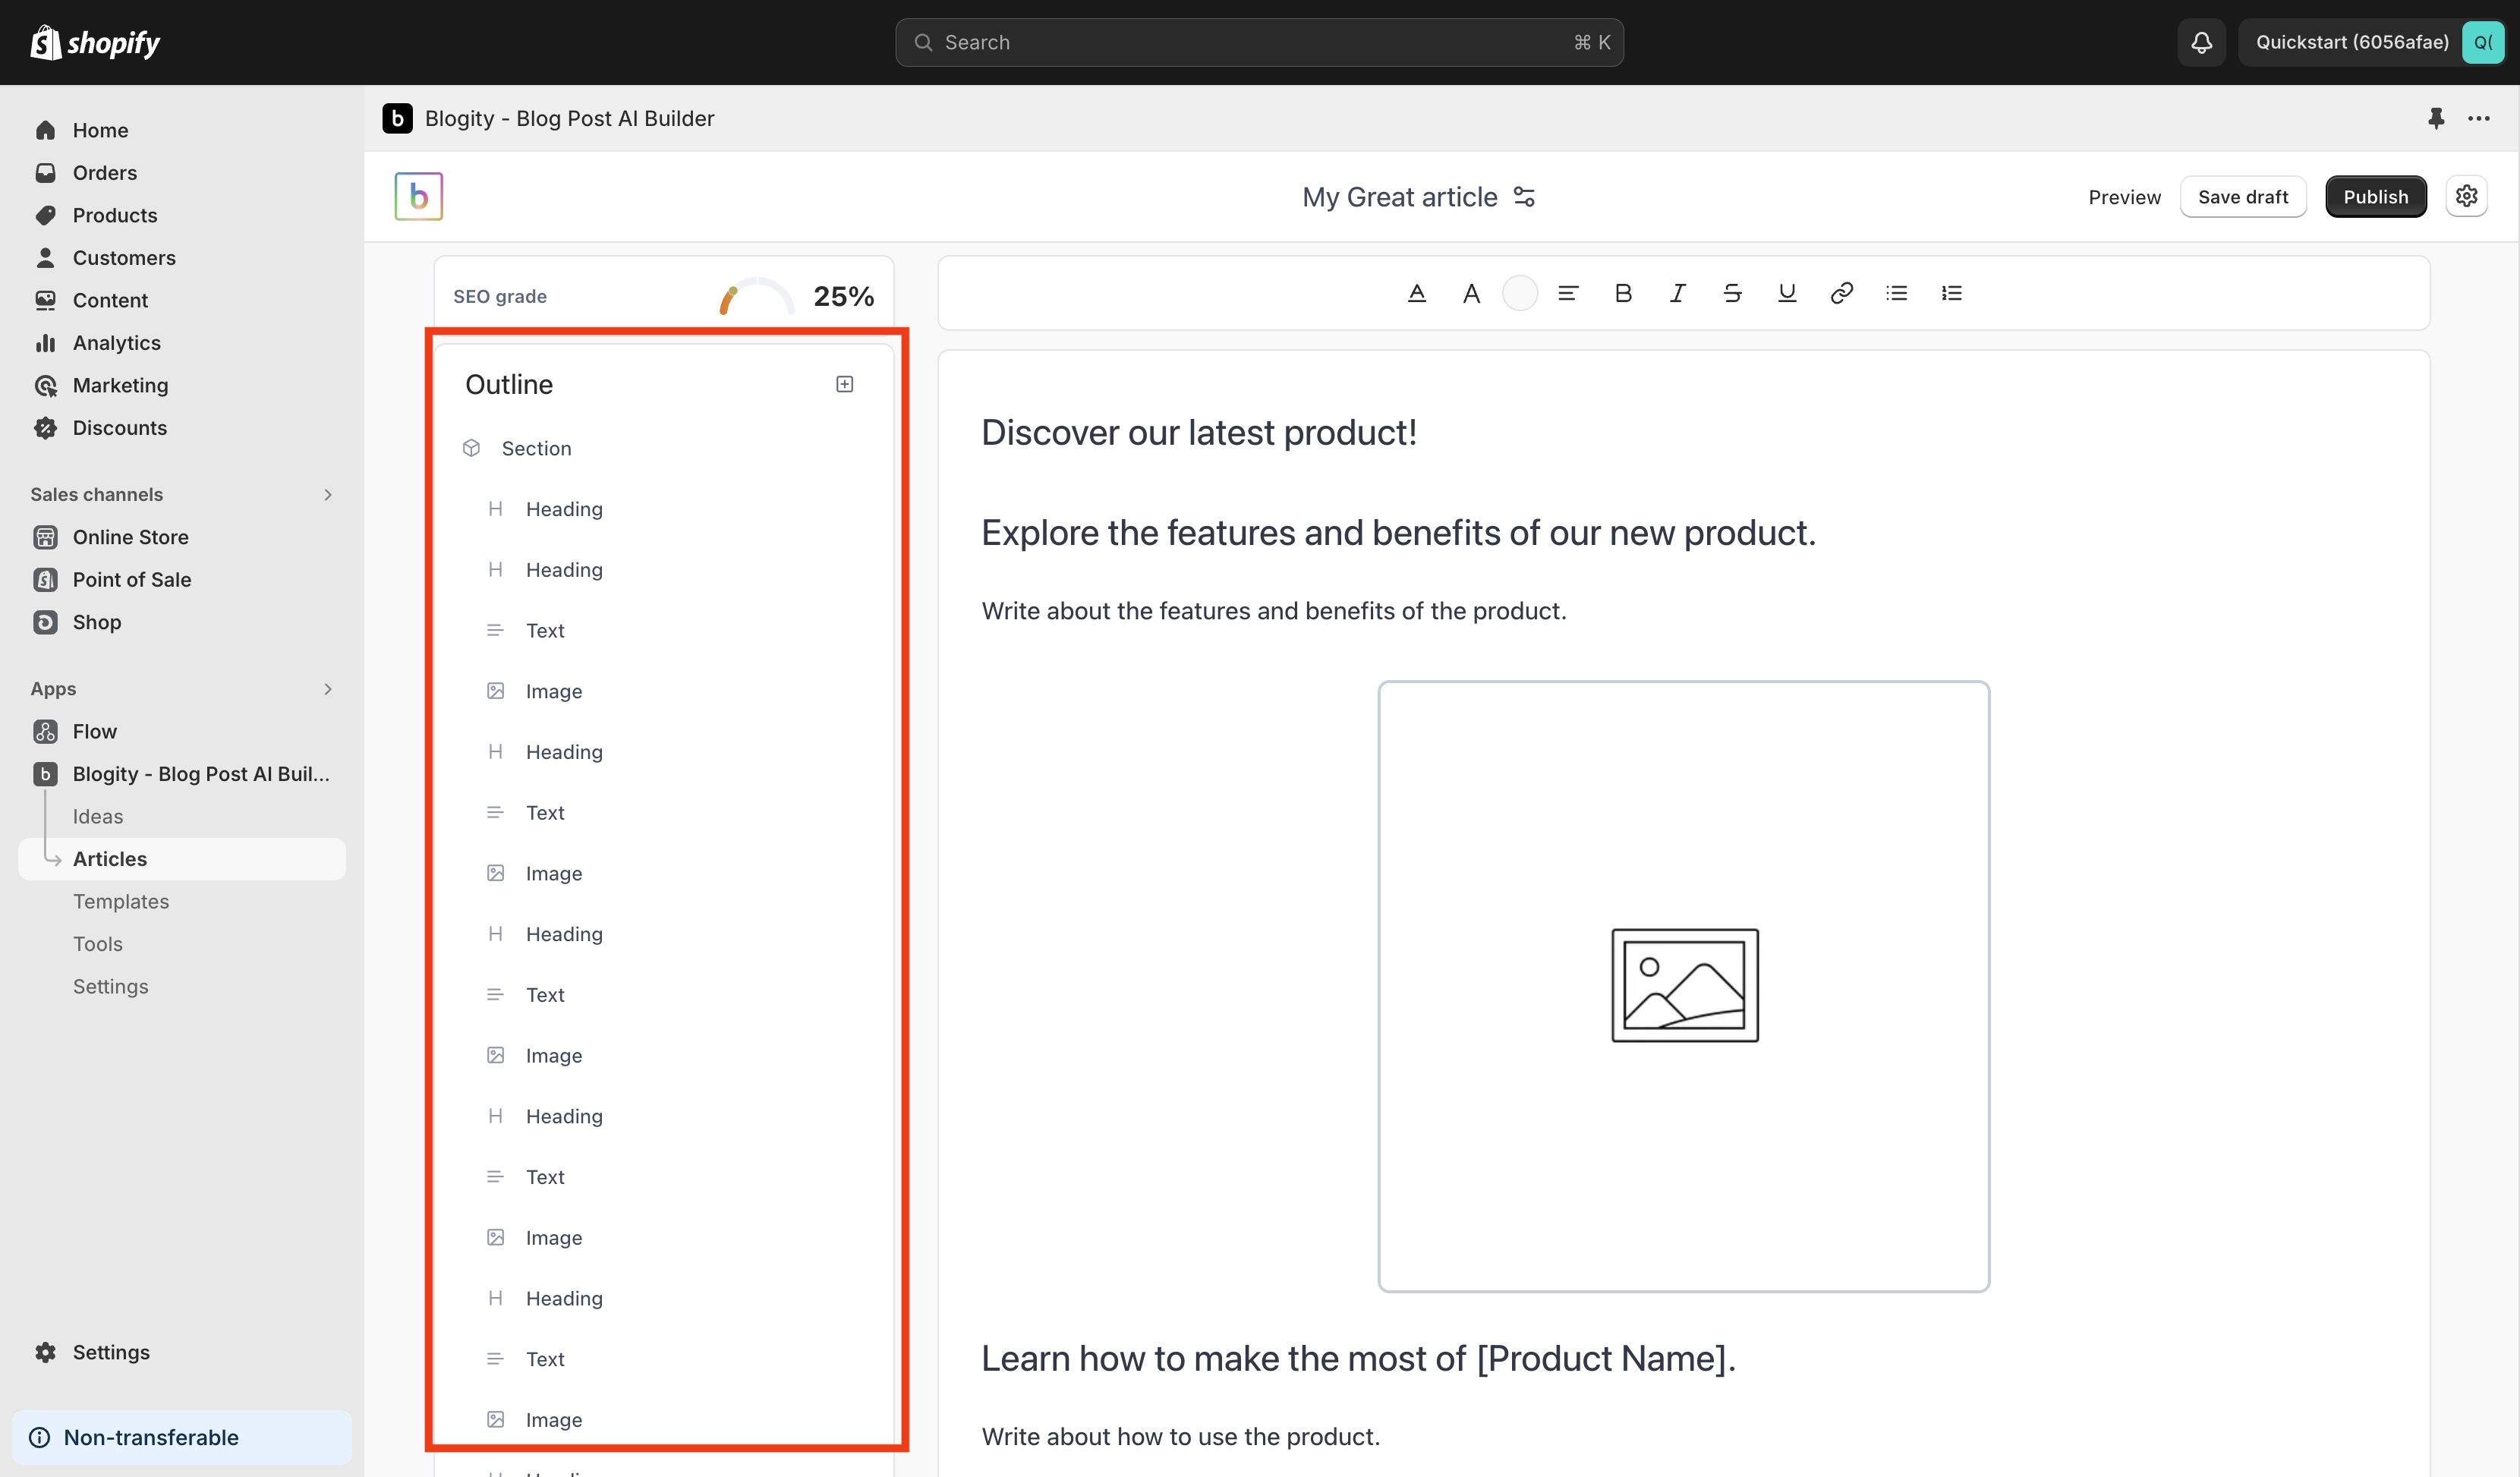
The outline sidebar lists all the blocks and sections of your article.
Here you can:
- Add new sections
- Add new blocks in a section
- Rearrange blocks and sections
- Duplicate or delete blocks
- Duplicate or delete sections
If you hover over a block in the outline sidebar, the primary body will scroll the to associated block.
The SEO assistant
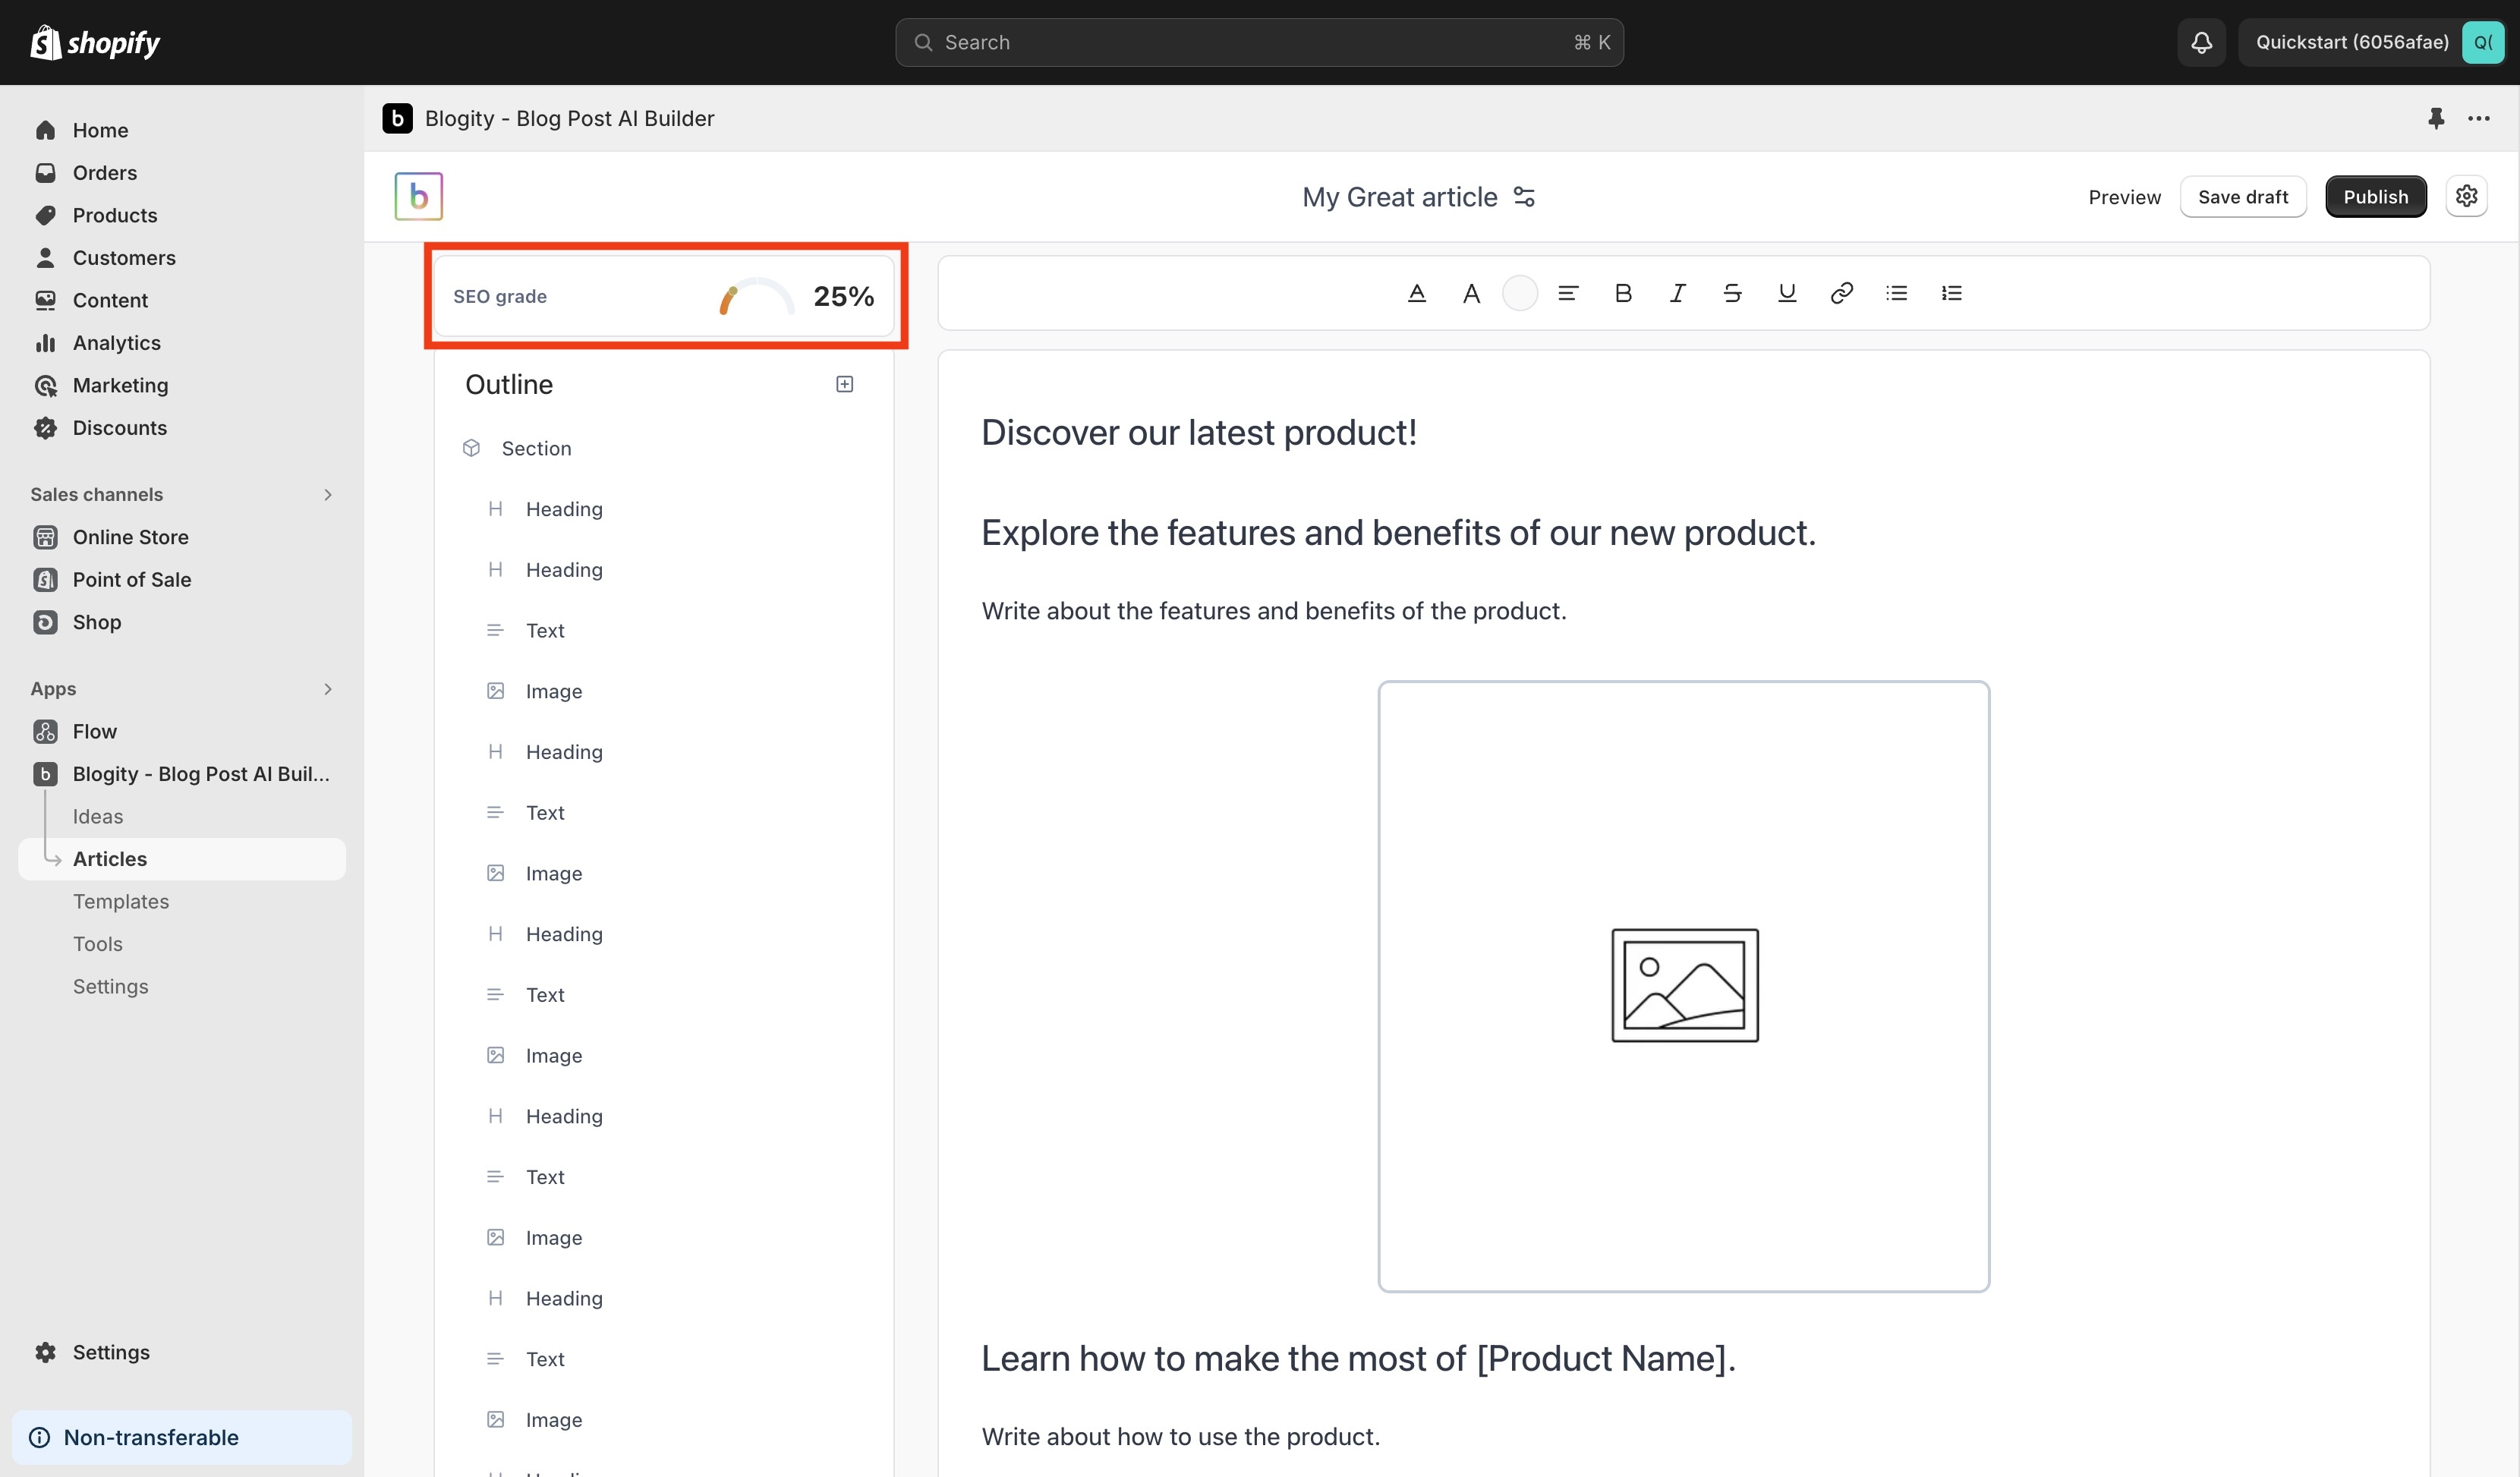
The SEO assistant can be accessed if you click on the SEO grade panel at the top of the sidebar. This will open the assistant and give you a break down on ways to improve the article structure and SEO ranking of your article.
The primary content body
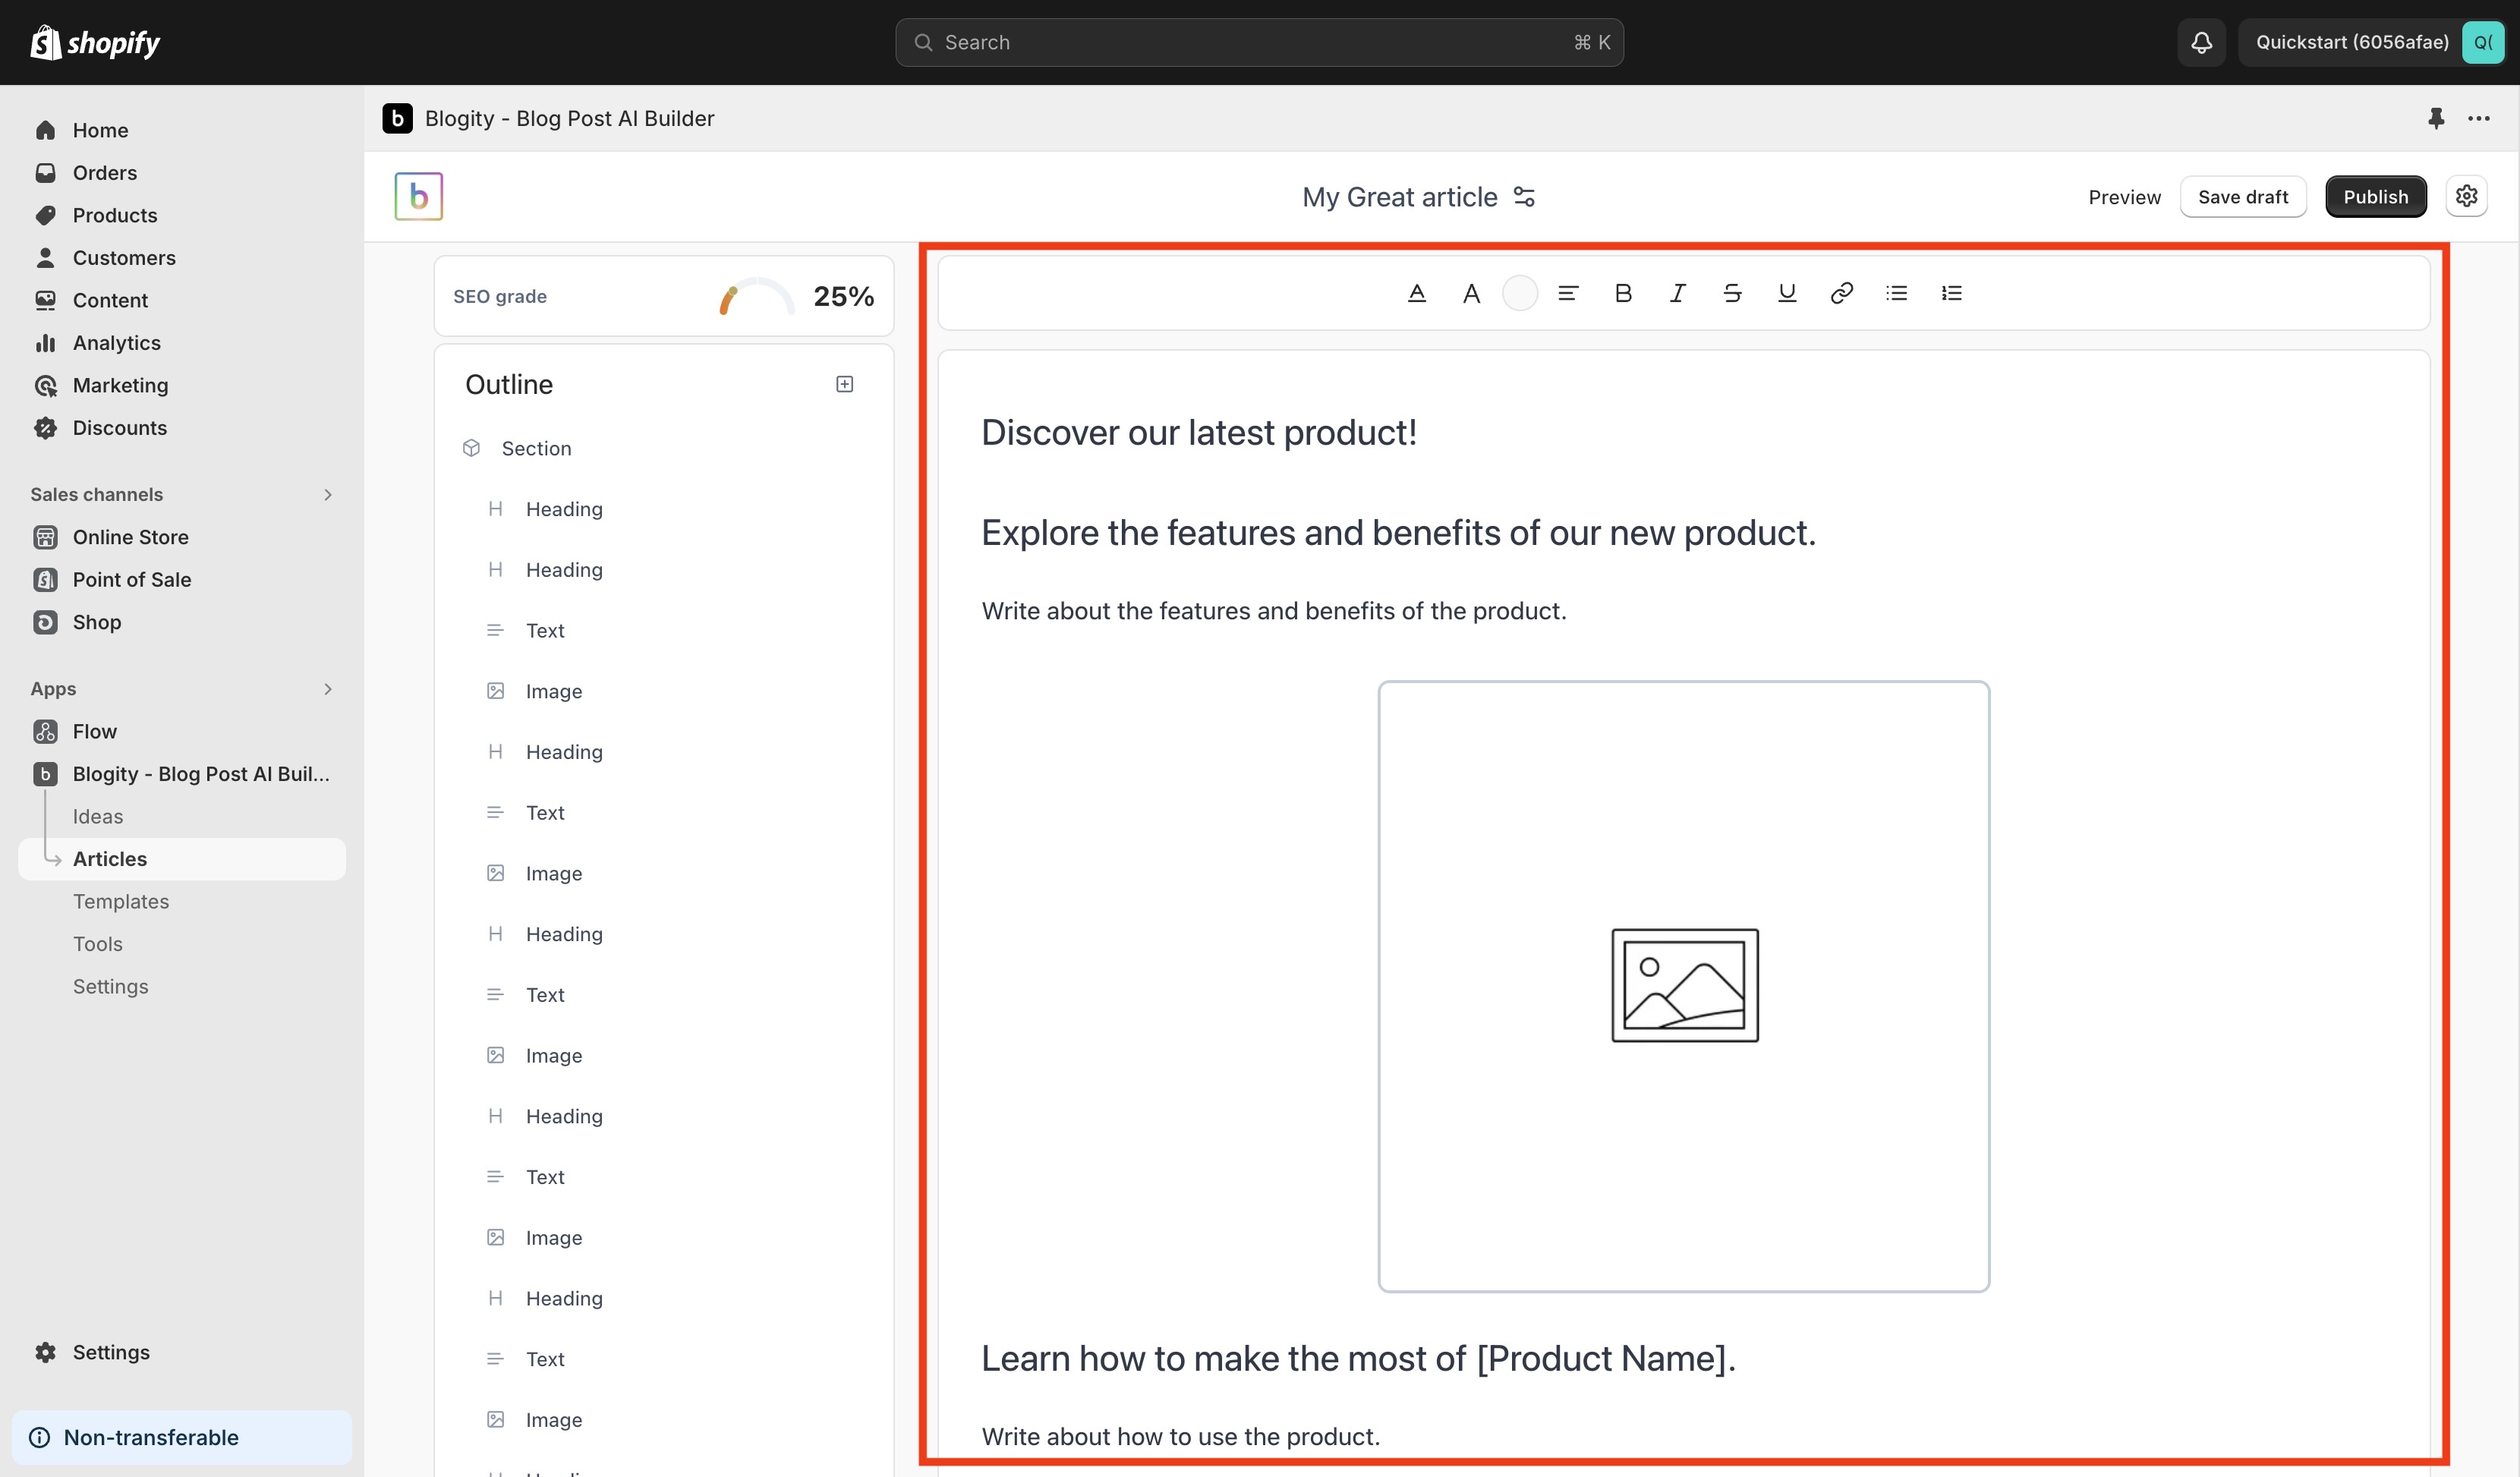
This is the main area where you will write and curate the content of your article. You can click on the individual blocks to select them, which opens the left sidebar to provide options to customize the block.
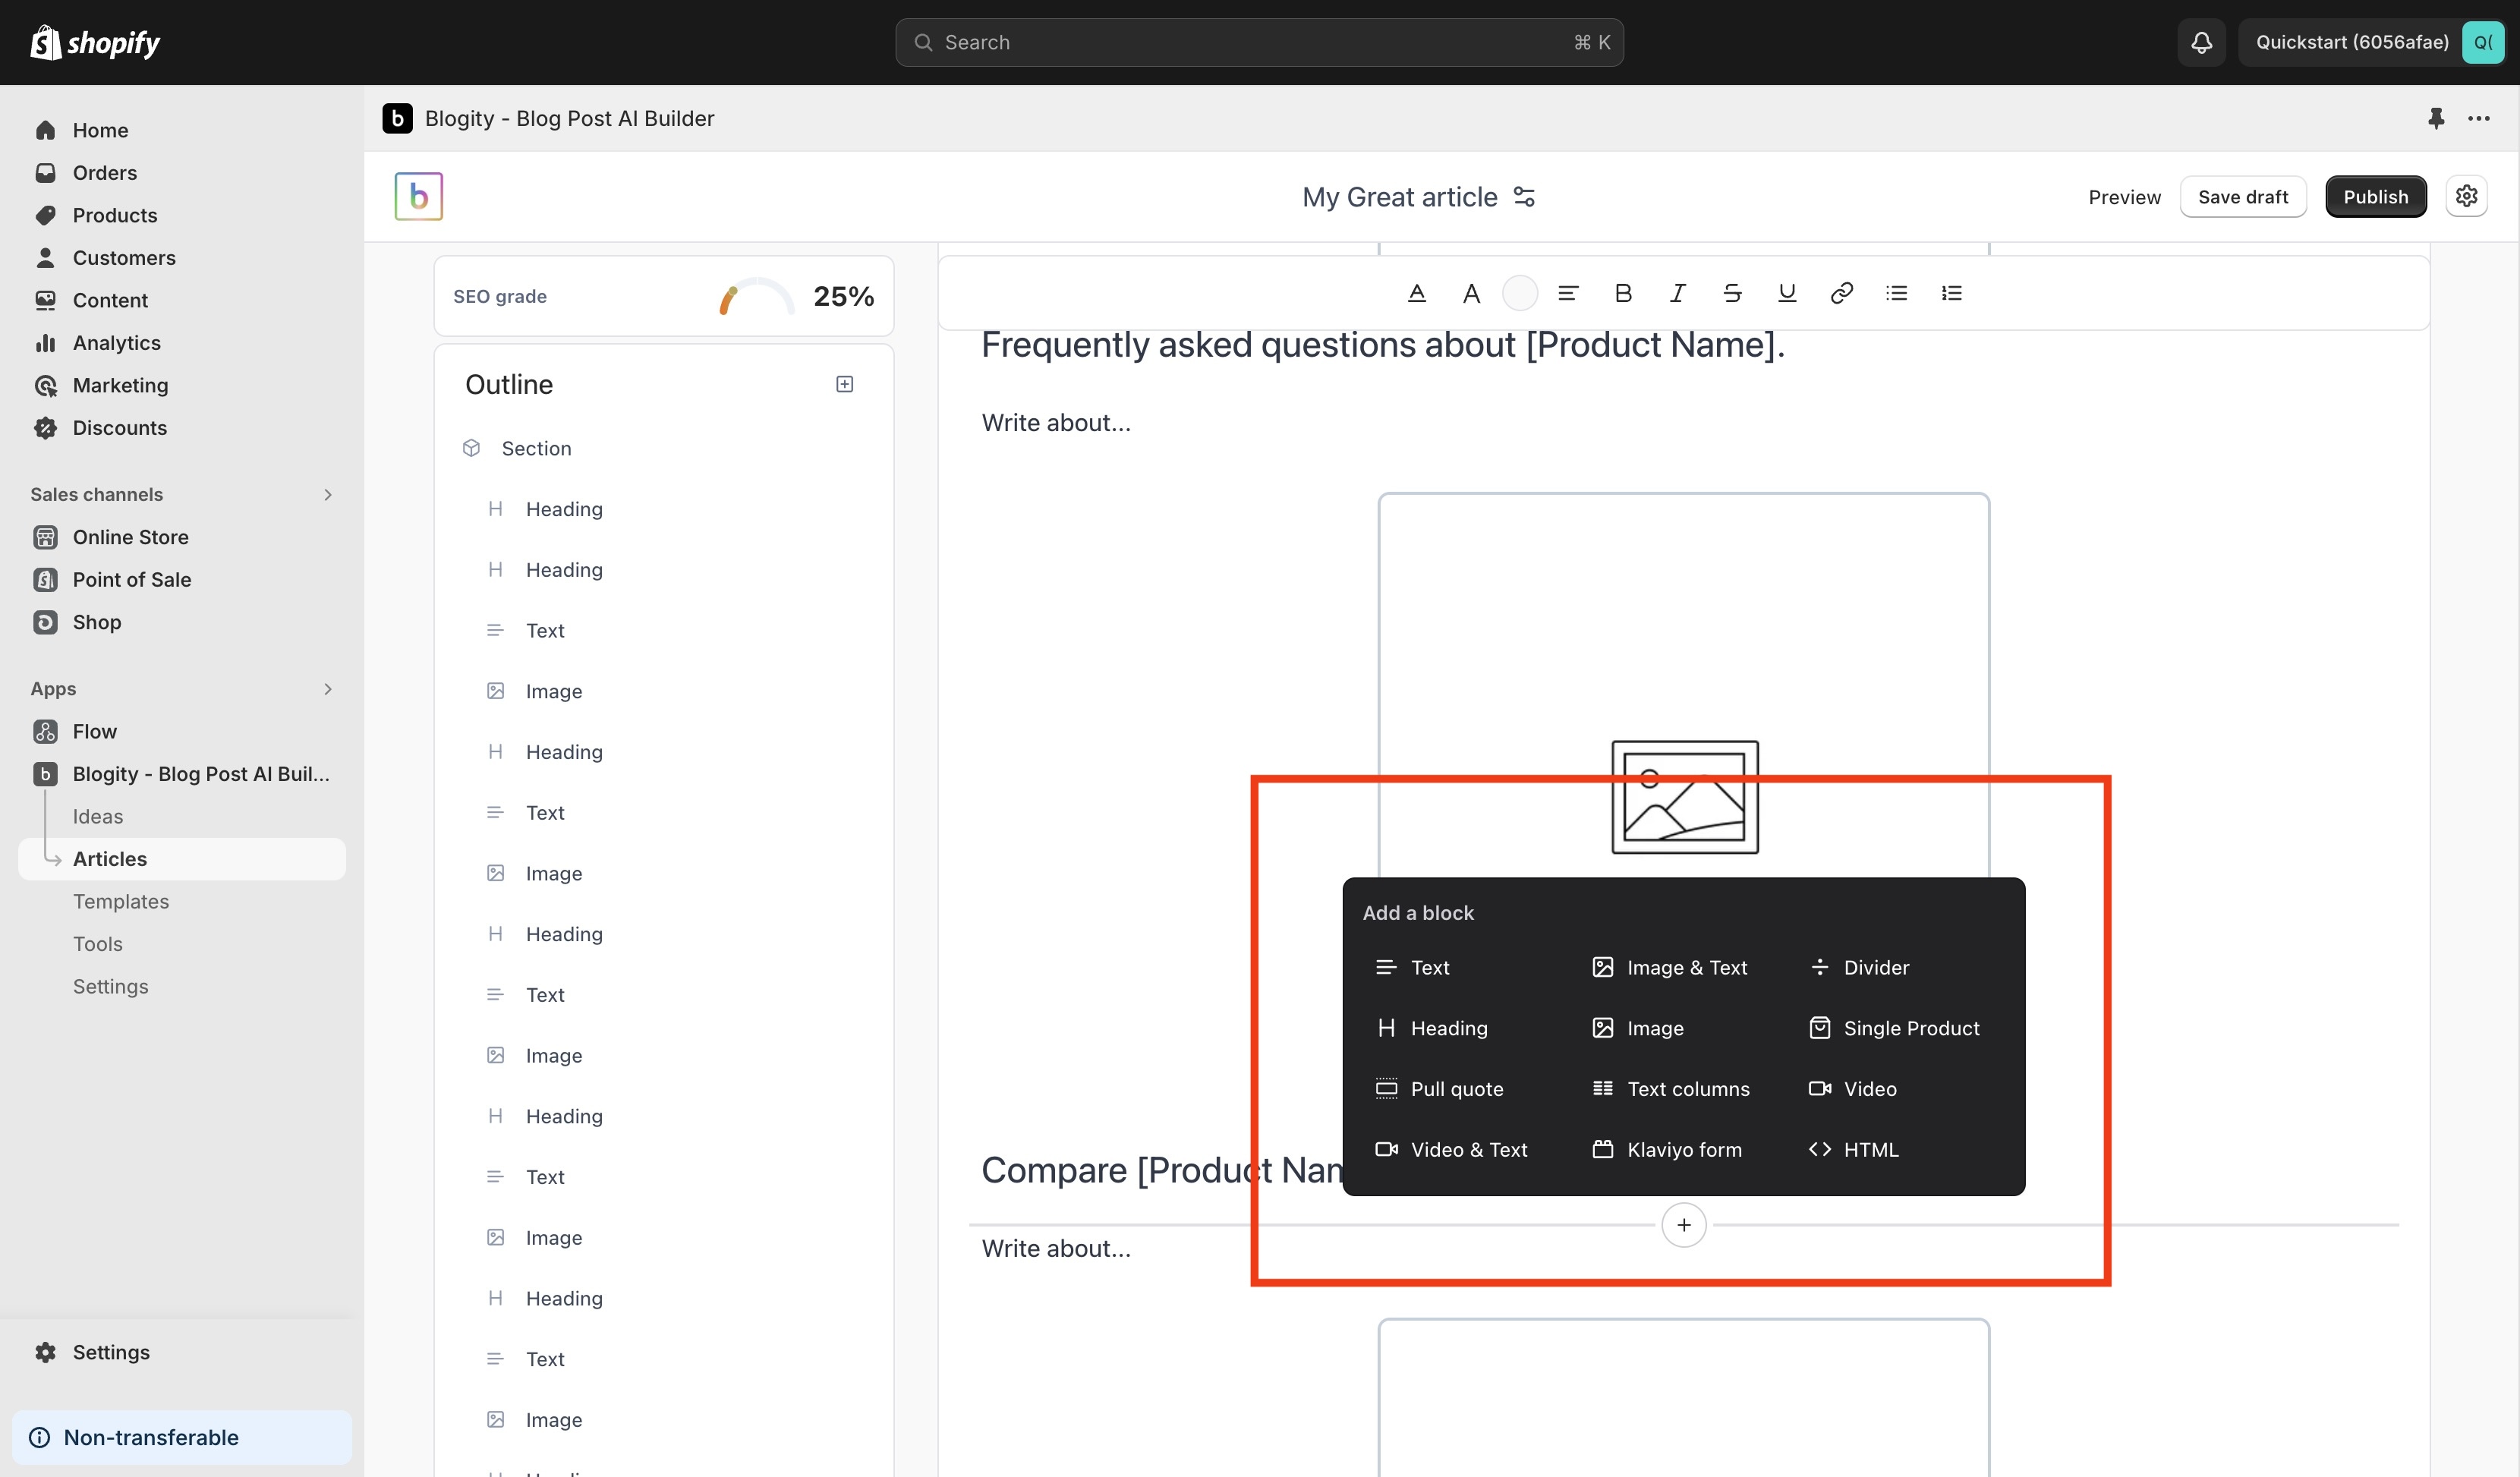
After each block you can add a new block, on hover a button will appear and on clicking the button a popover will be shown with available blocks you can add.
Heres a preview:
Editing text
As you select text in your article, the toolbar located at the top of the section will become available. Here you can change the format of the text, set the color and more.
